mc = magic circle
sc = single crochet
dc = double crochet
hdc = half double crochet
sl st = slip stitch
blo = back loops only
fo = fasten off
sc3tog = single crochet 3 together
Gauge = 4 rows and 3 hdc = 1"
Using size "H" 5mm and "G" 4.25mm Hooks, WW size 4 yarn, I used Red Heart Super Saver in Gold, White, and Black, and a needle for sewing/weaving in ends.
Starting ch does not count towards final st count.
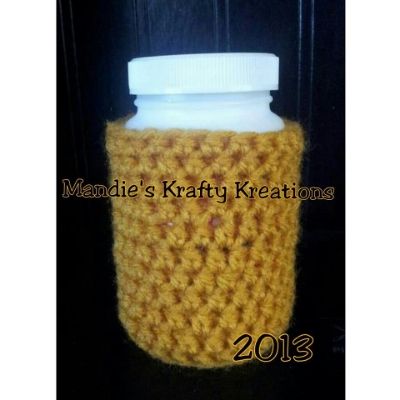
Base/body:
Using "H" 5mm hook
Rnd 1: start with mc, ch 2, 12dc into mc sl st into first dc to join. (12)
Rnd 2: 2dc in each st around sl st into first dc to join. (24)
Rnd 3: Ch 1, in blo 1 hdc in each st around sl st into first hdc to join. (24)
Rnd 4 - 13 Ch 1, 1 hdc in each st around sl st into first hdc to join. (24)
After round 13 sl st to first hdc fo and weave in ends.
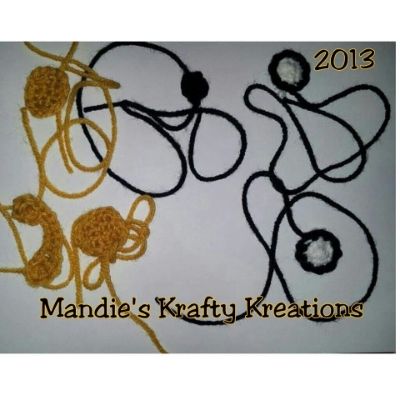
Eyes:
Make 2.
Using "G" 4.25mm hook
Rnd 1. Using white yarn start with mc, 4sc into mc, sl st to first sc. (4)
Rnd 2. ch 1 2sc in each st around, switch to black join with sl st in first sc. (8)
Rnd 3. ch 1, 1sc in each st around join with sl st in first sc, fo leave tail long enough for sewing to base/body. (8)
Nose:
Using "G" 4.25mm hook
Row 1. Ch 4 sc in 2nd ch from hook, sc in last 2 sts ch 1 turn. (3)
Row 2. sc3tog, fo leaving tail long enough to sew to base/body. (1)
Jowls/Muzzle
Using "H" 5mm hook
Row 1. Ch 12, 3dc in 3rd ch from hook, hdc in next, sc in next 6, hdc in next, 4 dc in last st. Turn so that the unworked side of the muzzle is facing up, sl st across the next 8 sts, fo leaving tail long enough to sew to base/body.
Ears:
Make 2
Using "G" 4.25mm hook
Row 1. Ch 4, sc in 2nd ch from hook, sc in next 2, ch 1 turn. (3)
Row 2. Sc in each st across ch 1 turn. (3)
Rows 3 - 5. repeat row 2. (3)
Row 6, sc3tog. (1)
You can stop with the ear now, or continue around with edging, I sc evenly around the ear, doing 2 sc in the top corners of the ear. I got 14sc's on each ear. It should look like an egg when you are finished. Make sure you leave a tail long enough for sewing to the base/body.
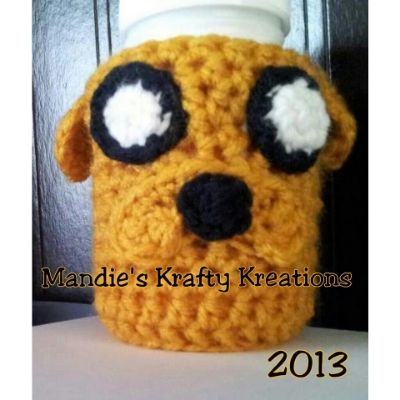
Now's the fun part! Take all your facial pieces and sew them to the base/body, using the finished picture, as a guide.
Enjoy this free pattern, feel free to sell items made from it, but please give credit to me as the pattern designer. Do not copy, steal, sell, or claim this pattern as your own, thanks!